

How To Get Photos Off Iphone To Laptop
Your iPhone is terrific at capturing astounding photos. But when it'south fourth dimension to view your snapshots, the tiny mobile screen just doesn't do them enough justice. You lot definitely need a bigger brandish for that.
If yous utilize a Windows PC alongside your iPhone, you accept multiple ways to transfer images to the desktop device. Allow'southward check them out.
i. Use File Explorer to Transfer Photos From iPhone to PC
The easiest way to transfer photos from your iPhone to your Windows PC is to simply plug in with a Lightning cable and copy them over using File Explorer:
- Connect the iPhone to your PC via USB.
- Unlock the iOS device and tap Allow or Trust.
- On your PC, open File Explorer and select Apple iPhone in the sidebar.
- Double-click Internal Storage > DCIM. Y'all should and then find all the photos on your iPhone categorized into monthly folders.

- Select an prototype (or multiple images while holding down the Ctrl key), and then correct-click and select Copy. Then, right-click in a unlike location on your computer and select Paste. Should you want, yous can also copy private or multiple folders (or the unabridged DCIM folder) to your computer.
If the photos re-create over in the iPhone's HEIC (Loftier Efficiency Image Container) format, open your iPhone's Settings and select Photos > Automatic at the bottom. That should prompt iOS to catechumen the photos into the compatible JPEG format during the transfer process.
2. Employ the Photos App to Transfer Photos From iPhone to PC
If you utilise a PC with Windows 10 installed, you can apply the Photos app to import images from your iPhone. Information technology'southward an incredibly convenient course of copying images, and you don't have to worry about creating duplicates in subsequent transfers either:
- Connect your iPhone to your PC via USB.
- Unlock the iOS device and tap Trust or Allow.
- Open up the Windows Start menu and select Photos.
- Select Import from the top-left corner of the Photos app. Then, select From a connected device and wait for the Import wizard to kicking into action.
- Select All items on the menu at the acme of the screen to select all items within the photos library on your iPhone. Or, manually select the images that y'all want to import.
- By default, the Photos app imports images to the Pictures folder on your Windows user business relationship. To change that, select Change destination.
- Click Import items to copy the images to your PC.

Note: If the Photos app fails to import your photos halfway through, simply repeat the steps a few times and your PC should re-create everything over eventually.
If you chose to import all photos, select Since terminal import to copy only newer photos to your PC the next time around.
3. Utilise iCloud for Windows
If yous use iCloud Photos on the iPhone, yous tin can have real-time access to your photos on your PC via the iCloud for Windows app:
- Install iCloud for Windows on your PC. Yous tin can download it for complimentary on the Apple tree website or the Microsoft Store.
- Sign in to the iCloud for Windows app using your Apple ID.
- Select Photos. Follow by activating any other iCloud services (such every bit iCloud Drive) and select Shut. You can e'er brand additional changes later by opening the iCloud for Windows app via the system tray.
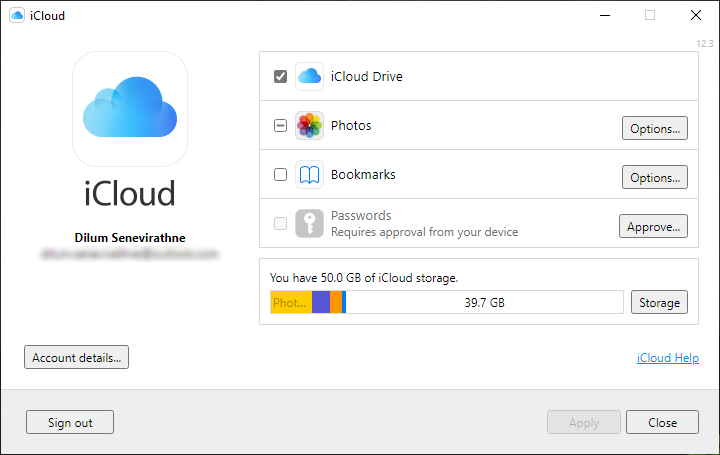
- Open File Explorer and select iCloud Photos in the sidebar. Your photos should announced inside the directory momentarily.
If iCloud Photos is non agile on your iPhone, your photos won't show up on your Windows PC. To enable it, open the iPhone's Settings app, select Photos, and plough on the switch next to iCloud Photos.
Nevertheless, iCloud just provides 5GB of free infinite. You may need to upgrade your iCloud storage to upload all your photos and videos.
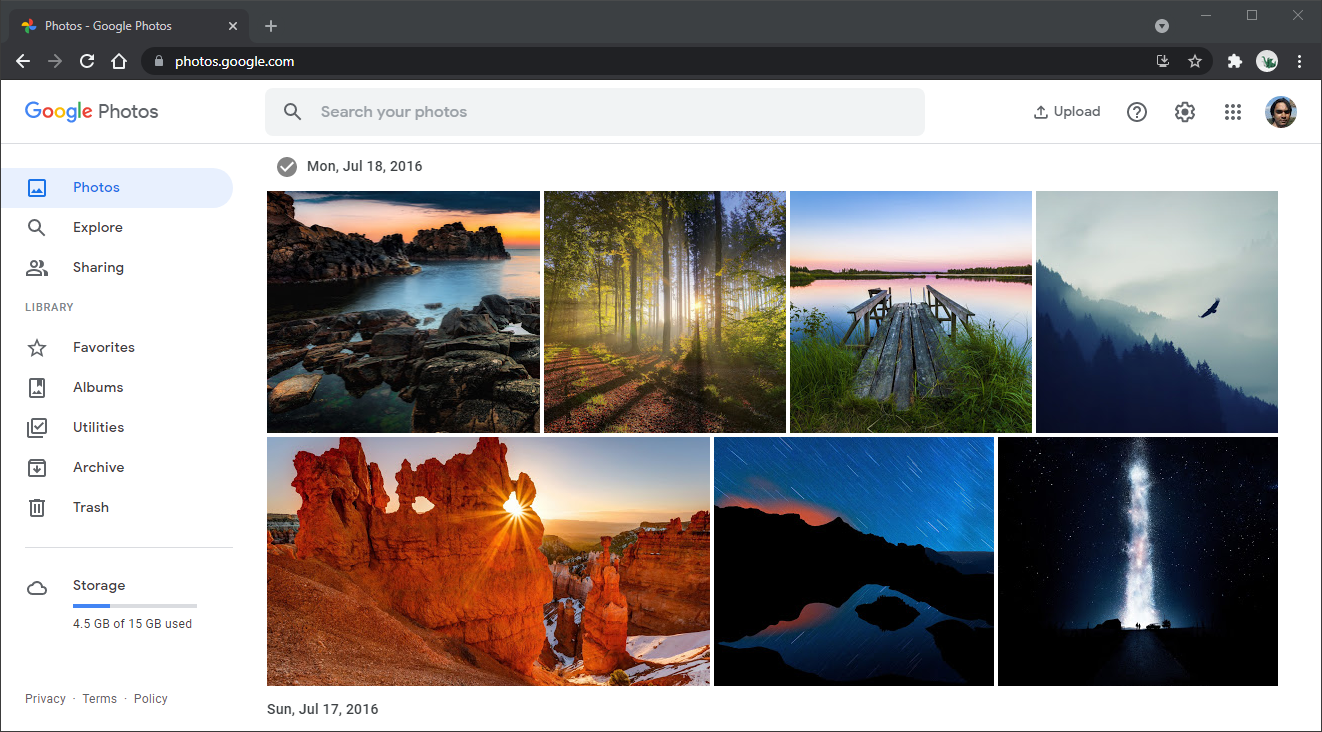
4. Utilise Third-Party Cloud Storage Service
iCloud Photos aside, you can as well use a third-political party cloud storage service to back up your iPhone photos and access them on your PC. Google Photos used to exist the best option due to its power to store an unlimited number of photos.
While that'south no longer possible on virtually devices, including the iPhone, you still get 15GB of free storage, which is significant compared to other storage services.
Here's Google Photos in action:
- Download Google Photos on your iPhone.
- Open Google Photos and tap Allow admission to all photos. Then, sign in with your Google Account.
- Select Storage saver to back up your photos at reduced quality (using less space), or Original quality to upload them in their original quality.
- Tap Confirm to back up your photos.
- Use the Google Photos spider web app to view and download the photos to your PC.
If yous're an Amazon Prime subscriber, Amazon Photos is another fantastic alternative with unlimited storage for photos (but non videos).
5. Employ iMazing or CopyTrans
Third-political party iPhone management apps such as iMazing and CopyTrans offer an culling arroyo to copying your photos from the iPhone to PC. They do crave a fee, just you get the option to view your photo library as it appears on the iPhone and import images past album.
You likewise gain admission to a host of boosted capabilities such equally the ability to schedule iPhone backups, excerpt messages, manage apps, and and so on. However, they do crave a fee, and in that location's fiddling reason to apply them unless yous need access to the avant-garde features they offer.
Here's iMazing in activeness, for example:
- Install iMazing on your Windows PC.
- Connect your iPhone to your PC via USB.
- Open iMazing and select your iPhone.
- Select Photos.
- Pick the anthology or category you want to transfer.
- Select Consign.
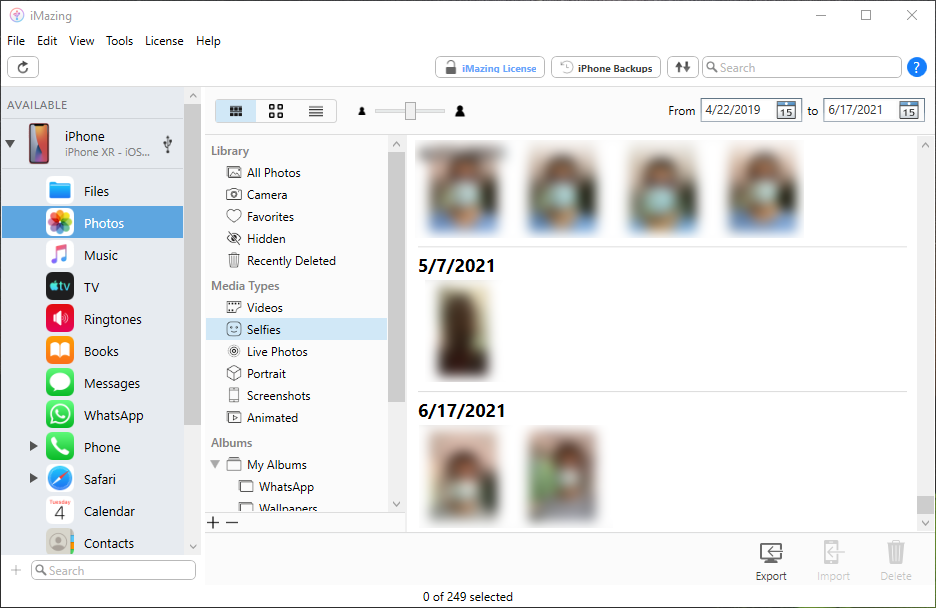
Both iMazing and CopyTrans offering free trials that allow y'all export upwards to 50 photos. That should let you decide if you want to have the plunge and purchase either 1 of them.
Download: iMazing (Gratuitous trial, subscription required)
Download: CopyTrans (Free trial, subscription required)
Transferring iPhone Photos Isn't Complicated
As you but saw, you lot have multiple ways to transfer photos from your iPhone to your Windows PC. Just pick the method that suits you lot the best and you should be good to get.
Once you've finished transferring your photos, don't forget to spend some time spicing them upward.

How To Get Photos Off Iphone To Laptop,
Source: https://www.makeuseof.com/transfer-photos-from-iphone-to-pc/
Posted by: savagesabighter.blogspot.com
0 Response to "How To Get Photos Off Iphone To Laptop"
Post a Comment